
Learning how to install on Linux Mint is one of the most rewarding steps for users who want a stable, fast, and user-friendly Linux operating system. Linux Mint is widely known for its simplicity, Windows-like interface, and strong performance on both new and older hardware. Whether you are switching from Windows, replacing another Linux distribution, or setting up a fresh computer, understanding the installation process helps you avoid common mistakes. This guide is designed to walk you through every stage in a clear and structured way. With careful preparation and a step-by-step approach, installing Linux Mint becomes a smooth and confidence-building experience for users at any technical level.
Understanding Linux Mint and Why It Is a Popular Choice
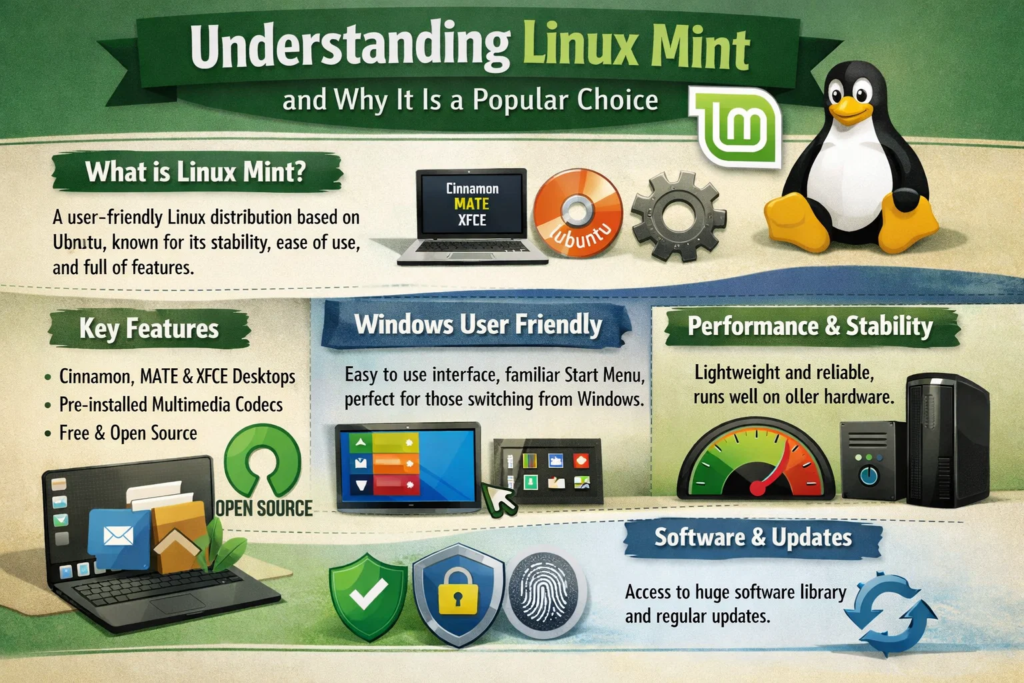
Linux Mint is a Ubuntu-based Linux distribution that focuses on ease of use, stability, and long-term reliability. It is especially popular among beginners because it comes with preinstalled multimedia support and a familiar desktop layout. Linux Mint offers multiple desktop environments, including Cinnamon, MATE, and Xfce, allowing users to choose based on performance needs and visual preferences. The operating system is updated regularly with strong community support and long-term support releases. How to install on Linux Mint Understanding these strengths helps users appreciate why Linux Mint is often recommended as a first Linux experience while still being powerful enough for advanced users and developers.
System Requirements and Compatibility Check
How to install on Linux Mint before starting the installation process, checking system compatibility is essential. Linux Mint runs efficiently on modest hardware, but meeting minimum requirements ensures a smooth experience. Most systems need at least 2 GB of RAM, 20 GB of disk space, and a 64-bit processor. A stable internet connection is recommended for updates during installation. Verifying hardware compatibility prevents performance issues later. Older computers often perform better with lightweight desktop environments like Xfce. How to install on Linux Mint knowing your system’s specifications allows you to choose the most suitable version and avoid unnecessary troubleshooting after installation is complete.
Choosing the Right Linux Mint Edition
Linux Mint offers different editions tailored to various user needs. The Cinnamon edition provides a modern and visually polished experience and is the most popular choice. MATE offers a traditional desktop layout with slightly lower resource usage. Xfce is designed for maximum performance on older or low-spec machines. How to install on Linux Mint selecting the right edition affects system responsiveness and user satisfaction. Each edition shares the same core features and software support, so functionality remains consistent. Making an informed choice at this stage ensures a comfortable and productive environment once the system is installed and ready for daily use.
Downloading the Linux Mint ISO File
How to install on Linux Mint the installation process begins by downloading the Linux Mint ISO file. This file contains the complete operating system image needed for installation. Always ensure you select the correct edition and system architecture. 64-bit systems are recommended for modern computers. The ISO file size typically ranges between 2 and 3 GB. After downloading, it is good practice to verify the file’s integrity to ensure it was not corrupted during download. A clean ISO file reduces installation errors and ensures system stability after setup. This preparation step plays a crucial role in a successful installation experience.
Creating a Bootable USB Drive
How to install on Linux Mint a bootable USB drive is required to install Linux Mint on your system. This process involves writing the ISO file to a USB flash drive using a dedicated tool. The USB drive should have at least 4 GB of storage and be formatted correctly. Creating the bootable media allows your computer to start the installer without affecting existing data initially. This step transforms the USB drive into a temporary installer environment. Ensuring the bootable USB is created properly prevents startup issues and ensures the installer loads smoothly when the system is restarted.
Configuring BIOS or UEFI Settings
How to install on Linux Mint before booting from the USB drive, system firmware settings may need adjustment. Accessing BIOS or UEFI allows you to set the boot priority so the system loads from the USB device. Some systems may require disabling Secure Boot for compatibility. These settings vary by manufacturer, but the goal remains the same: allow external media to boot first. Making these changes does not permanently affect your system and can be reversed later. Proper configuration ensures the Linux Mint installer launches without conflicts or boot errors.
Booting into the Linux Mint Live Environment
How to install on Linux Mint. Once the system boots from the USB drive, you enter the Linux Mint live environment. This mode allows you to test the operating system without installing it. You can explore the desktop, check hardware compatibility, and confirm that features like Wi-Fi, sound, and display work correctly. This trial environment is an important safety net, especially for first-time users. If everything functions as expected, you can proceed confidently. The live environment provides reassurance and reduces uncertainty before making permanent changes to your system.
Starting the Installation Process
How to install on Linux Mint. From the live desktop, the installer can be launched with a single click. The installer guides you through language selection, keyboard layout, and basic preferences. This stage is designed to be intuitive and user-friendly. You will also have the option to install multimedia codecs, which is recommended for full media support. Clear on-screen instructions help prevent confusion. Each choice can be reviewed before final confirmation. Taking time at this stage ensures the system is configured according to your personal and regional preferences from the very beginning.
Disk Partitioning and Installation Type
How to install on Linux Mint. Disk partitioning is one of the most important steps in the installation process. Linux Mint offers automatic partitioning for users who want a simple setup. Advanced users can choose manual partitioning for greater control. You may also install Linux Mint alongside another operating system using dual-boot. Careful selection prevents data loss, so reviewing disk options is essential. How to install on Linux Mint automatic partitioning is recommended for beginners. Once confirmed, the installer prepares the disk and begins copying system files. This step defines how the operating system will interact with your storage long-term.
Setting User Account and Time Zone
How to install on Linux Mint, During installation, you will be prompted to create a user account. This includes setting a username, password, and computer name. Strong passwords enhance system security. You will also select your time zone, ensuring correct system time and updates scheduling. These settings personalize your system and affect login behavior. The option to log in automatically or require a password at startup can be chosen based on preference. Completing this section ensures the system is secure, personalized, and ready for immediate use once installation finishes.
Completing Installation and First Boot
How to install on Linux Mint after configuration, the installer begins copying files and installing the operating system. This process typically takes 10 to 20 minutes, depending on system speed. Once completed, you will be prompted to restart the system. Removing the USB drive at the correct time ensures the system boots from the installed disk. The first boot introduces you to the fully installed Linux Mint desktop. This moment marks the successful completion of the installation process and the beginning of daily use on a clean, stable Linux environment.
Post-Installation Setup and Updates
How to install on Linux Mint after installation, running system updates is highly recommended. Linux Mint includes an update manager that keeps the system secure and stable. Updating ensures you receive the latest security patches and performance improvements. You may also install additional drivers if prompted, especially for graphics hardware. System updates are a key maintenance practice that improves reliability over time. How to install on Linux Mint customizing the desktop, installing essential applications, and adjusting system settings help tailor the environment to your workflow and personal preferences.
Installing Software and Essential Applications
Linux Mint includes a software manager that allows users to install applications easily. From productivity tools to development software, most applications are available with a single click. The software manager verifies compatibility and manages dependencies automatically. This approach eliminates the complexity often associated with software installation on other systems. Package management is one of Linux Mint’s strongest features, making application installation safe and efficient. Exploring available software helps users unlock the full potential of their new operating system.
Common Installation Issues and Troubleshooting Tips
Even with careful preparation, users may encounter minor issues. Common problems include boot errors, Wi-Fi drivers not loading, or incorrect display resolution. Most issues can be resolved through built-in tools or driver manager utilities. Restarting the system after updates often fixes temporary glitches. Patience and systematic troubleshooting are key. Linux Mint’s error messages are generally informative, helping users identify the cause quickly. Addressing issues early ensures a stable and frustration-free experience moving forward.

Conclusion
Understanding how to install on Linux Mint empowers users to take control of their computing environment with confidence. The installation process is designed to be accessible, even for beginners, while offering flexibility for advanced users. From selecting the right edition to completing post-installation updates, each step contributes to a stable and efficient system. With proper preparation and careful execution, Linux Mint delivers a smooth transition into the Linux ecosystem. A successful installation opens the door to improved performance, enhanced security, and a highly customizable operating system built for long-term reliability.
Frequently Asked Questions
1. Is Linux Mint suitable for beginners?
Yes, Linux Mint is widely considered one of the most beginner-friendly Linux distributions available.
2. Can Linux Mint be installed alongside Windows?
Yes, dual-boot installation is supported and commonly used by many users.
3. Does Linux Mint require antivirus software?
Linux Mint is inherently secure, but safe browsing habits and updates are essential.
4. How long does installation usually take?
The complete process typically takes 30 to 45 minutes, including setup.
5. Will Linux Mint work on older computers?
Yes, especially when using lightweight editions like Xfce.
6. Can software from Windows be installed on Linux Mint?
Some Windows software can be run using compatibility tools, but native Linux alternatives are recommended.
For More Update and Stories Visit Daily Guides